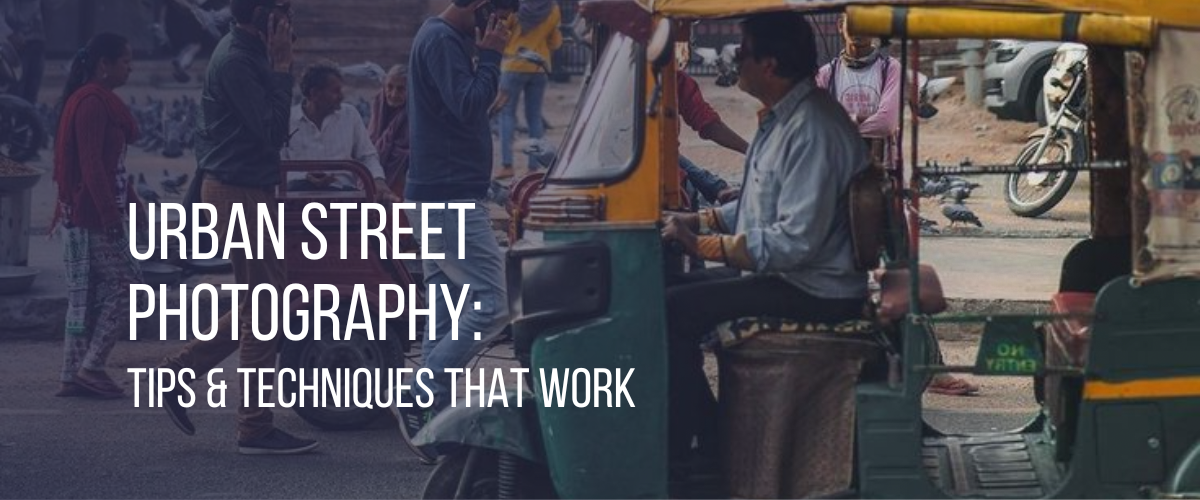

Are you ready to embark on a journey that will transform your travel footage into visually stunning masterpieces? In this comprehensive blog, we’ll dive deep into the art of creating amazing travel reels in India. From planning your shots to nailing camera angles, selecting the right equipment, adding captivating movements, and perfecting the editing process, we’ve got you covered. So, let’s uncover the secrets and unleash your creativity!
Preparing for Visual Delights – Planning
To capture mesmerizing travel moments, meticulous planning is key. Here’s what you need to consider:
Source – Indievisual.in
Research and Inspiration
Immerse yourself in the rich tapestry of India’s diverse culture, breath-taking landscapes, and vibrant cities. Explore travel blogs, photography websites, and social media platforms for inspiration to curate your unique visual storytelling.
Plan what kind of travel reels you will be making. If you’re creating a travel reel solely for entertainment purposes, you may want to focus on showcasing the beauty and excitement of India’s culture and landscapes. For instance, you could capture stunning shots of the Taj Mahal at sunrise or showcase the vibrant energy of Mumbai’s street markets. Your goal here is to create a visually stunning reel that evokes a sense of awe and wonder in the viewer.
On the other hand, if your travel reel is intended to be informative, you may want to incorporate more educational elements. For example, you could create a reel highlighting the rich history and significance of India’s ancient temples, such as the intricately carved Khajuraho temples or the UNESCO World Heritage site of Hampi.
Storyboarding
Visualize your travel reel by sketching out shot ideas and sequences. Create a roadmap that highlights the key locations, landmarks, and experiences you want to showcase. For example, if you are planning to cover your road trip from Mumbai to Goa, you might want to know about all the popular or not so popular scenic stretches that can make your reel look fantastic.
Gear Up for Cinematic Brilliance – Equipment
Source – forbes.com
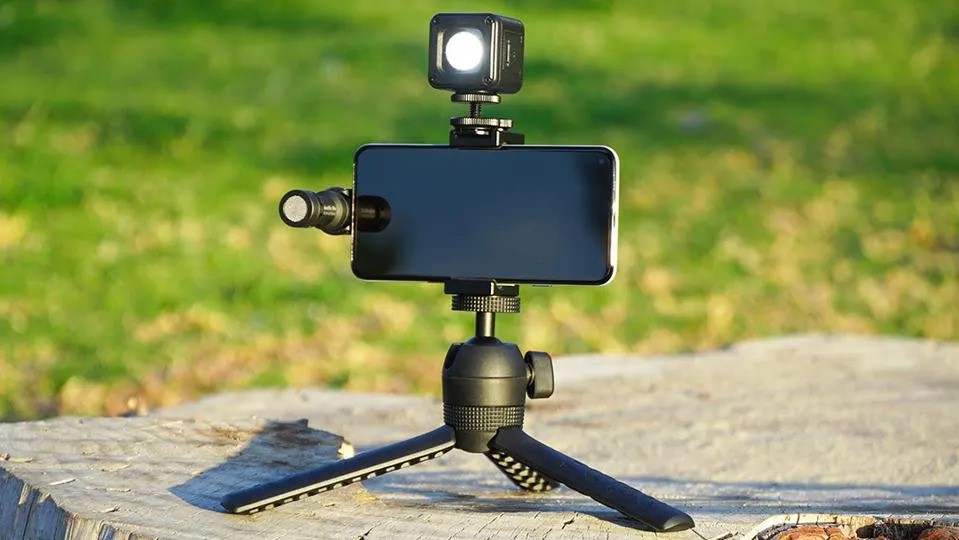
Equip yourself with the right tools to capture the essence of your journey. Here are some essentials to consider, with a focus on creating travel reels using smartphones:
- Camera Selection: When it comes to creating travel reels, smartphones have become a popular choice due to their convenience and advanced camera capabilities. Look for a smartphone with a high-resolution camera, preferably with manual control options for adjusting exposure, focus, and white balance. Features like optical image stabilization (OIS) or electronic image stabilization (EIS) can help ensure smooth footage, especially when shooting on the go.
- Lenses and Accessories: While smartphones offer versatile built-in lenses, you can further enhance your creative possibilities with additional lens attachments. Wide-angle lenses are ideal for capturing expansive landscapes or crowded city streets, allowing you to include more in the frame. Macro lenses brings out intricate details in flowers or architectural elements, while telephoto lenses enable you to zoom in on distant subjects. Explore different lens options designed specifically for smartphones, as they can significantly enhance your footage.
- Tripod or Stabilization: Stability is crucial when shooting professional-looking travel reels. Consider investing in a compact tripod or a smartphone stabilizer gimbal to minimize camera shake and ensure smooth footage. Tripods provide stability during stationary shots, while gimbals offer stabilized movement even while walking or capturing dynamic scenes. Look for lightweight and portable options that are easy to carry during your travel adventures.
- Additional Accessories: To elevate your travel reels, consider other accessories that can enhance your filming experience. External microphones can improve audio quality, especially when recording voice-overs or capturing interviews. Portable LED lights or ring lights can help you achieve well-lit shots of your face and the surroundings, especially in low-light environments or during night-time scenes. Don’t forget extra batteries, memory cards, and a reliable smartphone charger to ensure you don’t miss any precious moments. Remember, while having the latest and most advanced equipment can enhance the quality of your travel reels, creativity and storytelling remain paramount. The best camera is the one you have with you, so make the most of your smartphone’s capabilities and focus on capturing unique perspectives and engaging content that resonates with your audience.
Framing the Extraordinary – Camera Angles and Movements
Crafting visually captivating travel reels requires a keen eye for composition and engaging camera movements. Here’s how to level up your cinematography skills:
Source – Pixabay.com
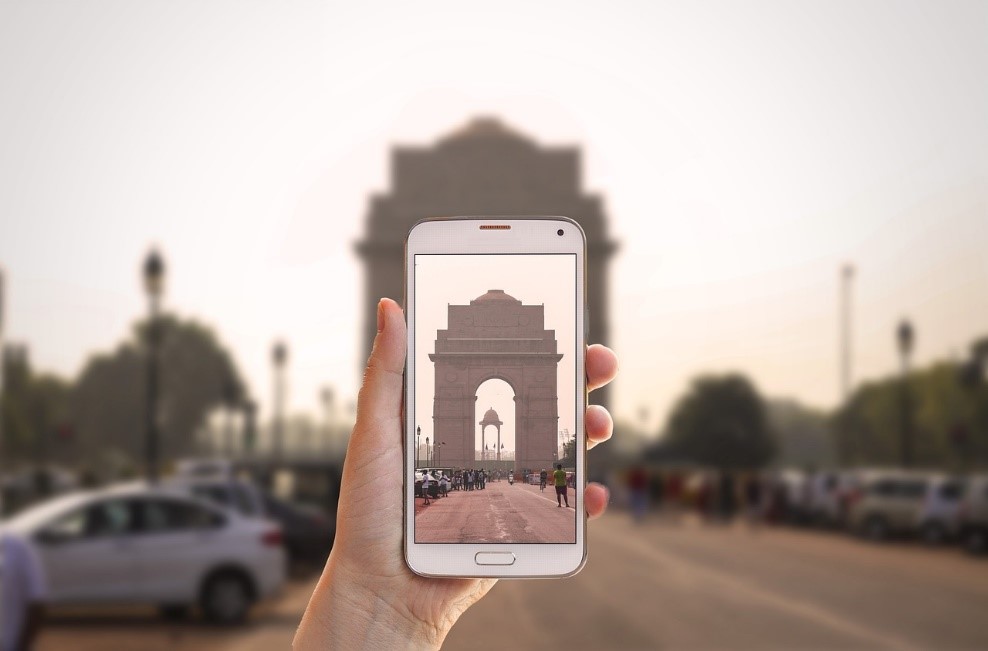
- Shooting Format: Shooting in vertical format (9:16 aspect ratio) allows your content to occupy the entire screen when viewed on mobile devices. This format is perfect for capturing tall landmarks, vertical cityscapes, or close-up shots of people, creating an immersive and visually appealing experience for viewers. Horizontal format can be utilized when you want to showcase expansive landscapes, wide-angle shots, or incorporate horizontal movement into your travel reels.
- Frame rate: When shooting your travel footage, consider using a frame rate of 60 frames per second (fps) to capture smooth and fluid motion. This higher frame rate is more flexible during the editing process, particularly if you want to create slow-motion sequences. By shooting at 60 fps, you can easily slow down certain clips in post-production, adding a dramatic touch to specific moments in your travel reel. Experiment with different frame rates and find the one that best suits your creative vision.
- Exposure Settings: Achieving the right exposure is crucial in creating visually appealing travel reels. To create a moody and atmospheric feel, aim to preserve the highlights while enhancing the shadows. This technique adds depth and dimension to your footage, creating a more cinematic look. When exposing your shots, consider reducing the exposure slightly to maintain the highlights without blowing them out, while also ensuring that the shadows have enough detail. This approach can enhance the overall mood of your travel reel, especially when capturing dramatic landscapes, ancient ruins, or vibrant cityscapes.
- Camera Angles and Movements: Don’t be afraid to step outside the conventional and explore various camera angles and movements to add dynamism and visual interest to your travel reels. For example, consider incorporating drone shots to capture breath-taking aerial views of landscapes or cityscapes. These sweeping shots can provide a unique perspective and a sense of awe-inspiring scale. Alternatively, try using low-angle shots to showcase the grandeur of monuments or capture the immersive feeling of walking through bustling markets. By experimenting with different angles and movements, you can bring a fresh and captivating perspective to your footage. But before you go experimenting, make sure that you understand the basic composition rules.
- Combining Static Shots with Dynamic Movements: To create a visually engaging narrative, it’s important to strike a balance between static shots and dynamic camera movements. Static shots provide stability and allow your viewers to absorb the details of a scene, while dynamic movements add energy and excitement. For instance, use panning movements to follow a subject as they move through a busy street or tilt the camera to capture the height of a majestic waterfall. Incorporate smooth tracking shots to create a sense of movement and guide the viewer’s attention. By combining different camera movements with well-composed static shots, you can create a dynamic visual experience that keeps your audience engaged.
Mastering the Art of Editing
The editing process is where your travel reel truly comes to life. Follow these tips to elevate your post-production skills and create captivating travel reels:
Source – geekinstructor.com
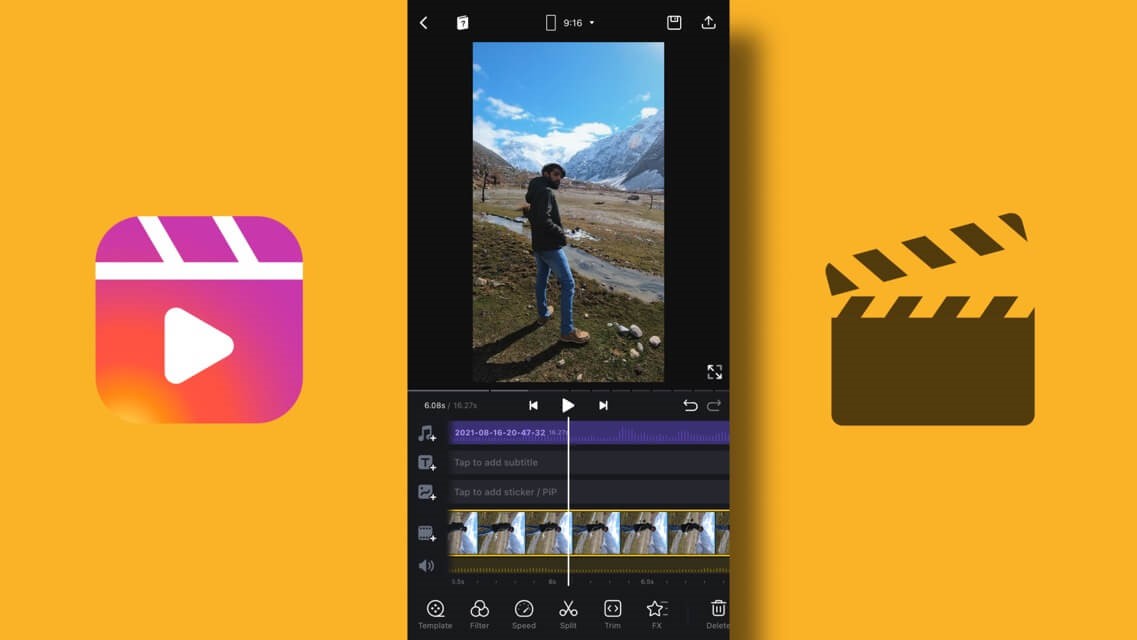
- Selecting the Best Footage: Once you have captured your travel footage, it’s time to select the most compelling and visually striking clips that align with your storyboard. Review all your footage and mark the interesting portions. Line them up in your editing software to get a sense of how your reel will flow. Keep in mind the desired length of your reel, as the best travel reels are often around 15 -30 seconds long. Trim any unnecessary footage that doesn’t contribute to the narrative or visual aesthetic, ensuring that every shot adds value to your reel.
- Color Grading: Enhance the mood and atmosphere of your travel reel through colour grading. Experiment with different colour palettes to evoke emotions and create a cohesive visual tone. For example, if you want to showcase the vibrant colours of Indian festivals, enhance the saturation and warmth of the footage. Conversely, if you’re capturing serene landscapes, opt for a more subdued and natural colour grading. Explore the colour grading tools in your editing software and play with settings like contrast, saturation, and hue to achieve the desired look.
- Adding Transitions and Effects: Smooth transitions and subtle effects can enhance the flow and impact of your travel reel. Use transitions like crossfades, dissolve, or creative transitions that suit the theme of your video. For instance, if you’re showcasing the contrast between traditional and modern India, you could use a split-screen transition to visually represent the juxtaposition. Additionally, experiment with effects like zoom-in and zoom-out, speed ramping, or overlay effects to add visual interest and emphasize specific moments. However, use these effects judiciously, ensuring they enhance the narrative rather than overpowering it.
- Selecting the Right Music: The music you choose plays a vital role in setting the mood and enhancing the overall impact of your travel reel. Consider the vibe and theme of your reel when selecting the music. Are you aiming for quick cuts and energetic editing? Look for upbeat and lively tracks that match the pace and energy of your footage. For more scenic and contemplative reels, opt for ambient or melodic tracks that evoke a sense of tranquillity. Keep an eye on the popular music trends on platforms like Instagram, as using trending music can often increase engagement with your reel.
- Overlaying Text: Adding text to your travel reel can provide context, highlight important details, or convey a specific message. Choose appropriate fonts and styles that align with the theme and mood of your reel. For example, if you’re showcasing historical landmarks, a classic and elegant font may be suitable. On the other hand, if your reel focuses on street food adventures, a fun and playful font can add to the lively atmosphere. Overlay text sparingly, ensuring it doesn’t overpower the visuals but enhances the storytelling.
As you edit your travel reel, consider editing it in way that showcases the country’s rich cultural heritage. Highlight the vibrant colours of Holi, the intricate architecture of historical monuments like the Taj Mahal, or the bustling energy of local markets. Let your editing choices reflect the essence of India, capturing its diversity, traditions, and captivating landscapes.
For any kind of complex editing and colour grading, you can’t depend on Instagram’s in-built editor. Because it only provides basic tools. There are many external video editors available for any kind of complex editing. They come with their own pros and cons, so choose wisely.
Remember, editing is where you can truly shape your travel reel and bring your creative vision to life. Experiment with different techniques, transitions, effects, and music choices to find the perfect balance that enhances your visuals and engages your audience.
Additional Tips
Source – thewisetraveller.com
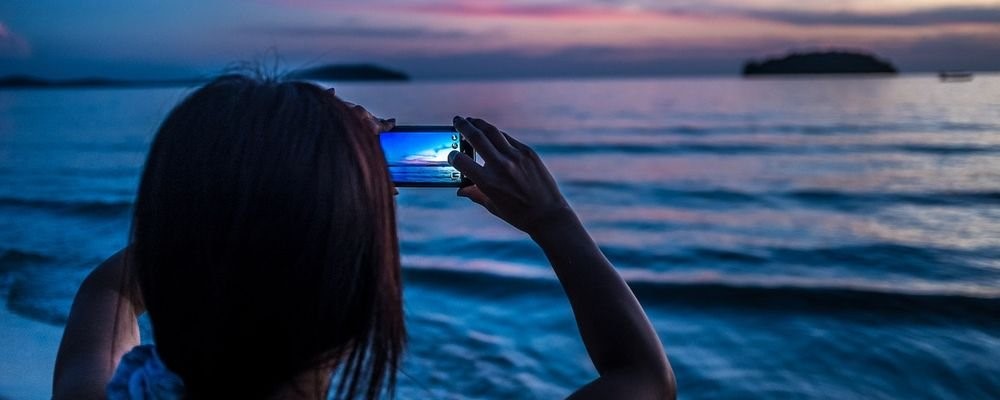
- Incorporate Time-lapses and Slow-motion: Time-lapse and slow-motion techniques can add a touch of magic to your travel reels, transforming ordinary moments into extraordinary visual experiences. Time-lapse allows you to condense hours or even days into a few seconds, capturing the movement of clouds, changing light, or the crazy energy of a crowded street. It’s perfect for showcasing the dynamic nature of India’s cities or capturing the mesmerizing beauty of sunrise and sunset. On the other hand, slow-motion can create a sense of drama and draw attention to intricate details. Use slow-motion to highlight the delicate movements of a dancer, the splashing waves on a beach, or the vibrant colours of a traditional festival. Experiment with different speeds to find the perfect balance and add a captivating dimension to your travel reels.
- Utilize Creative B-roll Shots: B-roll footage refers to supplementary shots that complement your main footage and add depth and visual interest to your travel reels. This is your opportunity to showcase the smaller details, unique textures, and captivating elements that make your travel experiences special. Capture close-ups of intricate architectural details, vibrant local street art, mouth-watering local cuisine, or the colorful textiles and handicrafts found in India’s bustling markets. These shots not only enhance the visual storytelling but also provide a more immersive and sensory experience for your viewers. You can also use Indian stock footage available online for your B-roll needs . Be creative and experimental with your B-roll shots, capturing the essence of the location and its cultural nuances.
- Experiment with Hyperlapses: Take your time-lapse shots to the next level by incorporating hyper lapse. Hyper lapse is a technique where you create a time-lapse sequence while moving the camera over a longer distance. This adds a dynamic element to your footage and can create a sense of movement and exploration. Use hyper lapse to capture your journey through crowded markets, winding streets, or scenic landscapes. It can provide a unique perspective and transport your viewers into the heart of your travel experiences, and at a practical level, it allows an audience to take in the chaos of traversing crowded spaces at a speed that allows the eye to locate and appreciate the elements at play.
- Split-screen techniques: Split-screen format is a creative technique used in travel reels to showcase multiple horizontal videos simultaneously, offering a unique visual storytelling approach. It involves dividing the screen into two or more sections, each displaying a different video clip. In the context of travel reels in India, split-screen can be used to highlight the diversity and rich experiences within a single location. For example, imagine featuring a split-screen shot of Jaipur, also known as the Pink City. On one side, you could showcase the magnificent Amber Fort, with its grand architecture and intricate details. On the other side, you could capture the vibrant hustle and bustle of Jaipur’s local markets, filled with colourful textiles, handicrafts, and beautiful people.
From majestic historical landmarks to bustling street markets, from vibrant festivals to serene landscapes, let your reels showcase the diverse tapestry of this incredible country. So, pack your camera, ignite your imagination, and let your travel reels become portals to adventure, inspiration, and the undeniable allure of India. Happy filming, and may your reels captivate hearts and ignite wanderlust!