
Pets are not just pets. For most of us, pets are a very warm and adorable addition to our otherwise boring lives. As a photographer, (or a photographer and pet owner) how do you then capture a beautiful portrait of your or anyone else’s pets? We spoke to Vineet, a hobbyist pet photographer (and one of our founders!) who’s been shooting pets and street animals for years, to find out more about how to shoot them well. Get ready for some pawsitively delightful insights on how to create picture-perfect memories with your beloved pets – minus the frills and fancy jargon.
Selecting The Right Gear
You must understand the difference between wildlife and pet photography. To capture domesticated pets, you do not need to have a long telephoto lens in your studio. Instead, you will need a camera that can take quick pictures, which makes fast shutter speeds an important feature in them. This also means you’ll need to learn how to adjust the camera settings manually.
Some digital cameras come with a “Pet Mode,” but it often isn’t enough to get perfectly exposed and sharp pictures. Your best choice is to use a DSLR or mirrorless camera or even a special app that lets you control the camera settings yourself. Some Nikon, Canon, and Sony cameras have a special feature that can detect animal faces, like the Nikon Z series, Canon EOS R3, and Sony A1. You can also shoot in burst mode to have lots of different pictures to choose from later!
When it comes to capturing photos of pets, the choice of lenses can make a big difference.
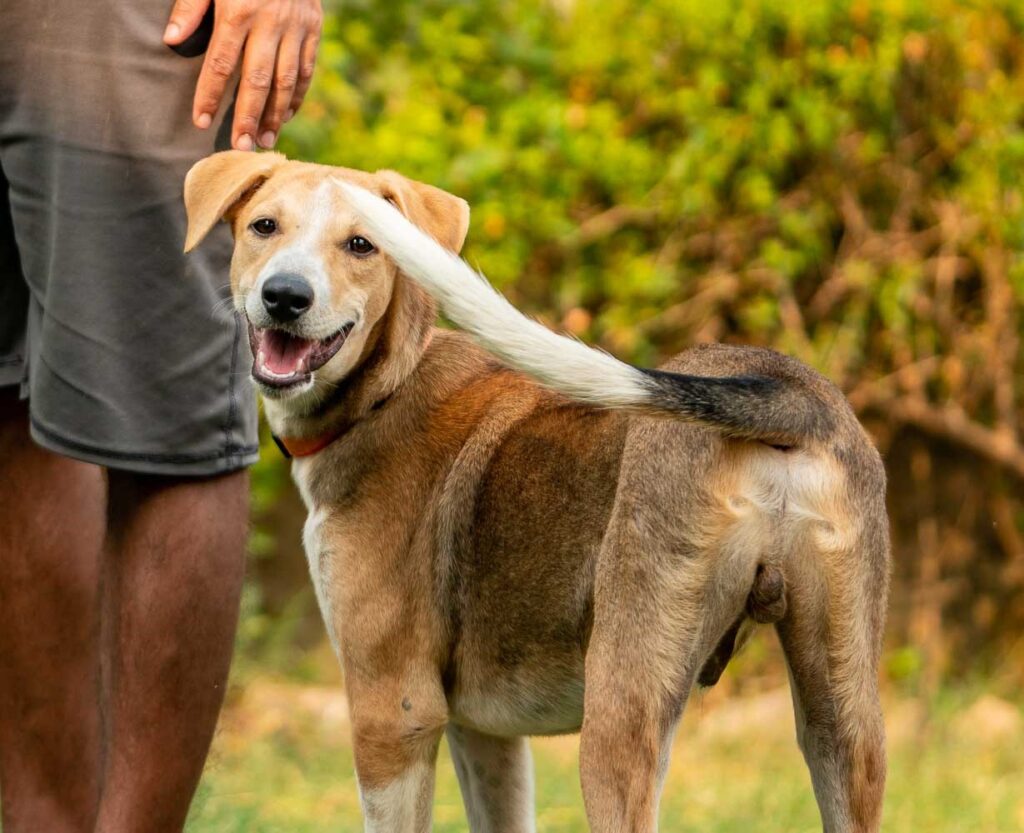
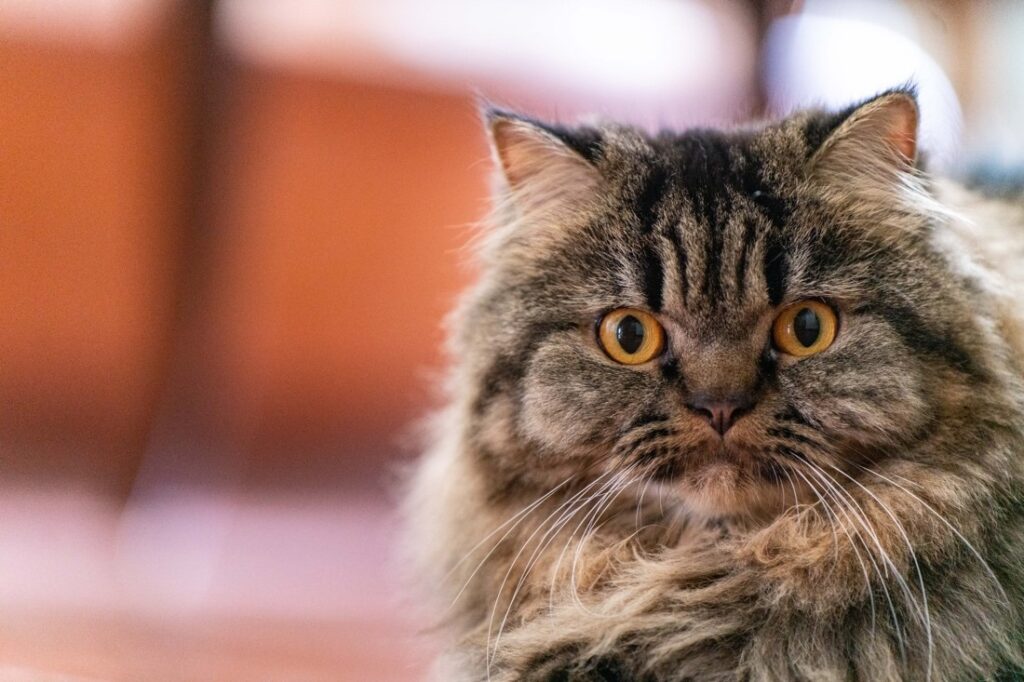
Courtesy – Vineet Khunger
1. Prime Lenses: Prime lenses with a fixed focal length, like 50mm or 85mm, are often recommended. These lenses are known for producing sharp and clear images. They also have wide apertures that can create a beautiful background blur, making your pet the focal point. However, keep in mind that animal’s faces aren’t as flat as human faces – so if your aperture is too wide, and hence the depth-of-field too narrow, then you might end up with a photo where the eyes are in focus, but the nose is blurry. So stick to f2.8 or lesser to make sure that the whole face is in focus.
2. Macro Lenses: If you want to capture intricate details of your pet, such as their eyes or fur, a macro lens is a great choice. Macro lenses are designed for close-up photography and can reveal tiny features beautifully.
3. Wide-Angle Lenses: Wide-angle lenses (e.g., 35mm or 24mm) can be useful for photographing pets in their environment or capturing their playful interactions with their surroundings.
Preparation & Setting the Scene
While pets are photogenic subjects, a beautiful portrait of them takes a lot of work. Communicate with your client. Ask them what specific type of photos they want. Do they want a framed portrait? Or do they want an album? They may have one or more goals. Visualize the kind of photos your client wants first and then schedule a session.
Remember, the more you communicate, the happier the client will be with the results. Arrange everything before the shoot. As you now know what kind of photos are required, you can prepare yourself and the pet accordingly.
1. Location
If you can go to the client’s place, the pet will naturally be more comfortable in its setting. If the shoot is going to happen in your studio, pet-proof it. Remove any potential hazards or items that the pet could chew, knock over, or damage. Secure cables, wires, and fragile equipment.
Make the studio as pet friendly as possible. Provide a soft and clean area for the pet to sit or lie down. Consider using a pet blanket or cushion. Play soft music or use calming scents to help relax the pet. They may feel more at ease when exposed to familiar scents. Have treats and toys ready. If possible, you can also bring in an assistant. Be patient and allow the pet to get comfortable in the studio space. Don’t rush the process; let the pet explore and acclimate to the environment.
If the shoot is going to happen in a park, familiarize yourself in advance. Look for interesting spots, backgrounds, and areas with good lighting. Bring extra memory cards and batteries.
Now, let them explore and play, and be ready to snap candid moments.
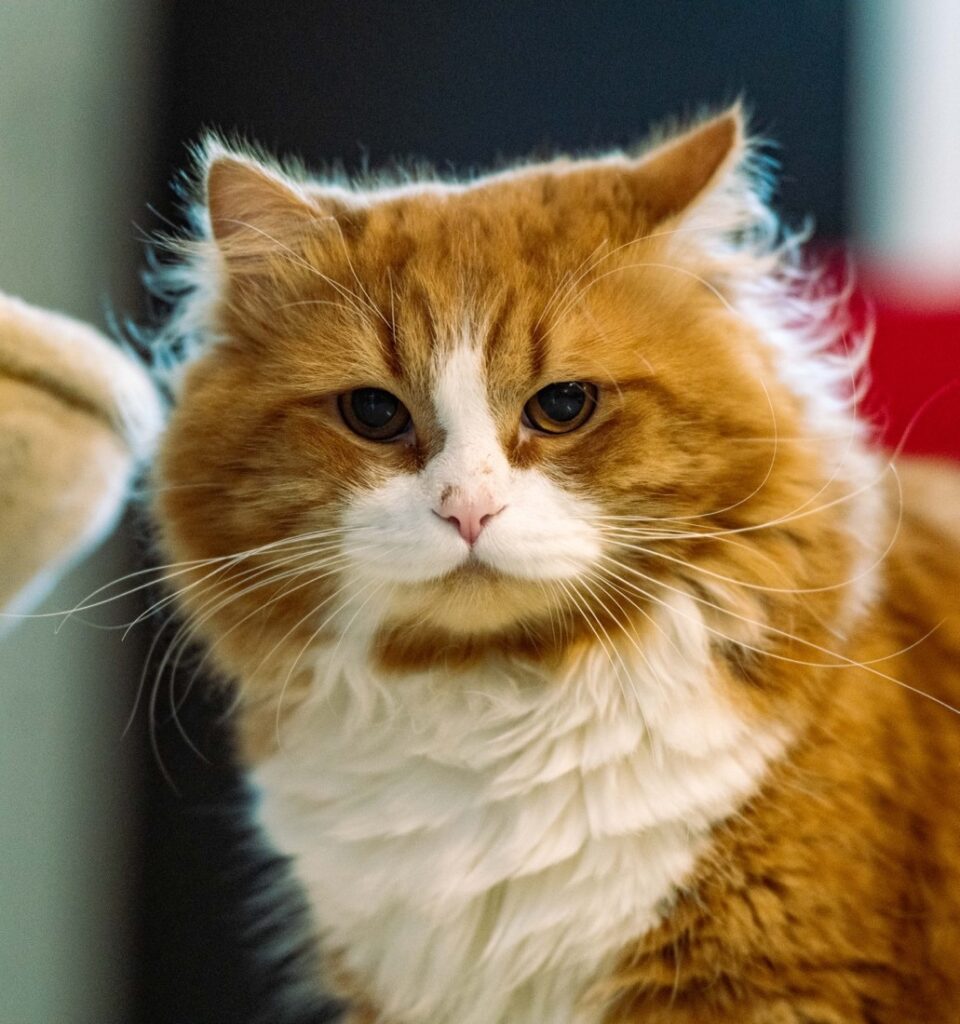
Courtesy – Vineet Khunger
2. Time
The time of day when you take pet photos can affect the lighting and your pet’s behavior. For instance, in the morning and late afternoon, the sun is lower in the sky. This creates soft, warm light that’s great for golden-hour photography. But during midday, when the sun is high, the light can be harsh and create strong shadows, which might not be as flattering.
Pets, like dogs and cats, often have different energy levels during the day. In the morning, they might be more active and playful. In the afternoon, they might be a bit calmer or even sleepy. Discuss with the client beforehand.
3. Lighting
When taking pictures of pets, you don’t need complicated lighting setups or flashes. It’s best to use natural, continuous light that won’t scare them or create red-eye in photos. Whether you have daylight or studio lights, aim for bright, soft light to make your pet portraits look better.
If it’s a bit darker or your pet doesn’t like bright lights, you can increase the ISO setting on your camera. Higher ISO makes it possible to take fast-action shots even in dimmer settings. The cloudier the day, the better for outdoor photos – it gives you even, soft lighting. Sunny days can be tricky, but cloudy days are your friend.
Check for catchlight, a faint white reflection, in your pet’s eyes. It adds life to their eyes and makes your dog photos more interesting and unique, especially for pet photographers”, says Vineet, an animal lover who’s been photographing pets for a while.
Understanding the Basics of Pet Behavior
It doesn’t matter if the pet is a cat or a dog, understanding their behavior is super important for getting great photos. Knowing how the pet acts helps you anticipate their movements and reactions and helps you capture their natural moments easily. Try to understand their body language. Watch for signs like wagging tails, perked ears, or relaxed postures. These show the pet’s emotions and can lead to more engaging photos.
Try your best to make pets comfortable. “It’s crucial to make pets feel at ease during a photo shoot because if they’re not comfortable, it’s apparent in the pictures,” continues Vineet. You also have to make sure that the pet looks well-groomed. Keep a comb or brush nearby. Have treats handy to reward good behavior and cooperation during the shoot. Ask the client to bring their pet’s favorite toys to keep them engaged and focused on the camera.
Composition & Framing
Try the “rule of thirds.” Imagine a tic-tac-toe grid on your photo. Put the pet where the lines intersect, and it’ll look balanced and pleasing. Get down to your pet’s eye level for a personal touch. Capture their unique personality by focusing on their eyes, nose, or paws.
Courtesy – Vineet Khunger
Camera Settings and Shooting Modes
- Aperture: Aperture controls how much light enters the lens. For pet photography, use a wider aperture (smaller f-number, e.g., f/2.8) to create a blurry background (bokeh) and make your pet stand out.
- Shutter Speed: Shutter speed determines how long the camera’s “eye” stays open. For active pets, you’ll want a fast shutter speed (e.g., 1/500s or faster) to freeze motion. Slower speeds (e.g., 1/125s) work for calm, posed shots.
- ISO: The sensitivity of the camera to light is measured by ISO. In well-lit conditions, use a low ISO (e.g., ISO 100) for clear and noise-free photos. Increase the ISO (e.g., ISO 800 or more) in low light to avoid blurry shots but be mindful of potential noise.
Shooting Modes
- Manual Mode: Use this mode when you want complete control over your settings. To get the right exposure, change the shutter speed, ISO, and aperture. It’s great for fine-tuning in different lighting conditions.
- Aperture Priority (Av/A): In this mode, you choose the aperture, and the camera sets the appropriate shutter speed for correct exposure. Ideal for controlling depth of field (blurry background) while letting the camera handle the rest.
- Shutter Priority (Tv/S): You select the shutter speed, and the camera adjusts the aperture accordingly. Useful when you want to control motion blur or freeze action while leaving the aperture to the camera.
Post-Processing and Editing
- Exposure Adjustment: Use exposure adjustment tools to brighten or darken your photo if it’s too bright or too dark. This helps bring out details in your pet’s fur and surroundings.
- Colour Correction: Adjust the colors to make your pet’s fur look more natural and vibrant. You can enhance or tone down colors as needed.
- Crop & Composition: Crop your photo to improve the composition or remove distracting elements. This can help bring focus to your pet.
- Sharpening: Apply sharpening to enhance details, like fur texture or your pet’s eyes. Be careful not to over-sharpen, as it can make the photo look unnatural.
- Noise Reduction: If you used a high ISO setting in low light, you might have some graininess (noise). Use noise reduction tools to reduce this and make the image smoother.
Common Challenges & How to Overcome Them

Courtesy – Vineet Khunger
- Getting the pet to stay still: Pets are naturally active and playful, and it can be challenging to get them to stay in one place long enough to get a good shot. One way to overcome this is by using toys or treats to distract them and keep them in one spot. You can also try using a faster shutter speed to capture their movements. Use treats to keep them interested and motivated, advises Vineet.
- Dealing with low light conditions: Low light conditions can make it difficult to capture clear and sharp photos of your pets. One way to overcome this is by using natural light, such as photographing your pet near a window or outside during the day. You can also try using a flash or a reflector to bounce light onto your subject.
- Getting the right angle: Capturing the right angle can be crucial to getting a great photo of your pet. One way to overcome this is by getting down to their level and shooting from their eye level. This will give you a better perspective of their world and help you capture their unique traits and characteristics.
- Dealing with nervous or anxious pets: Some pets can be nervous or anxious around new people or in new environments. One way to overcome this is by giving them time to get used to the camera and the photographer. Start by photographing them in a familiar environment and using treats or toys to help them relax.
Remember, it’s important to take your time and be patient with the pet. As Vineet reminds us, “If you’re good with animals, the job is half done. Treat them like individuals, with their own personalities.”
While pet photography has its challenges, with a bit of patience and practice, you can nail it!