Are you an artist looking to showcase your talent to the world through stunning photographs of sketches, paintings, printed art and more? Photographing 2-D artwork can be a challenge, but don’t worry, we’ve got you covered. Here are some tips to help you capture the essence of your artwork!
Planning Your Shoot
Before you begin photographing your artwork, it’s important to plan your shoot. This involves thinking about the location, time of day, and other factors that could impact your final result. If you’re photographing artwork in a fixed location, take some time to scout the area beforehand and consider things like the background and available lighting. We discuss lighting later in this article.
If you’re able to move the artwork, consider finding a location with natural light and a plain background that won’t detract from the artwork. Additionally, think about the mood or feeling you want to convey through your photographs, and choose a location that complements that.
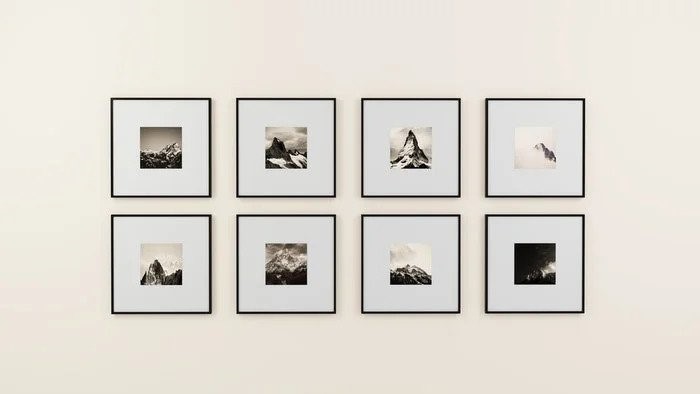
Choosing the Right Background
Credit – Medhat Ayad, Source – pexels.com
The background you choose for your artwork can have a big impact on the final output. If you’re photographing a painting or other artwork that’s on a canvas or paper, consider using a neutral or complementary background that won’t distract from the artwork. This could be a plain white wall, a piece of coloured paper, or a backdrop specifically designed for photographing artwork.
If you’re unable to move the artwork or need to photograph it in its current location, try to find a way to minimize distracting elements in the background. You could use a shallow depth of field to blur out the background or try to position the artwork so that it’s not directly in front of any distracting elements.
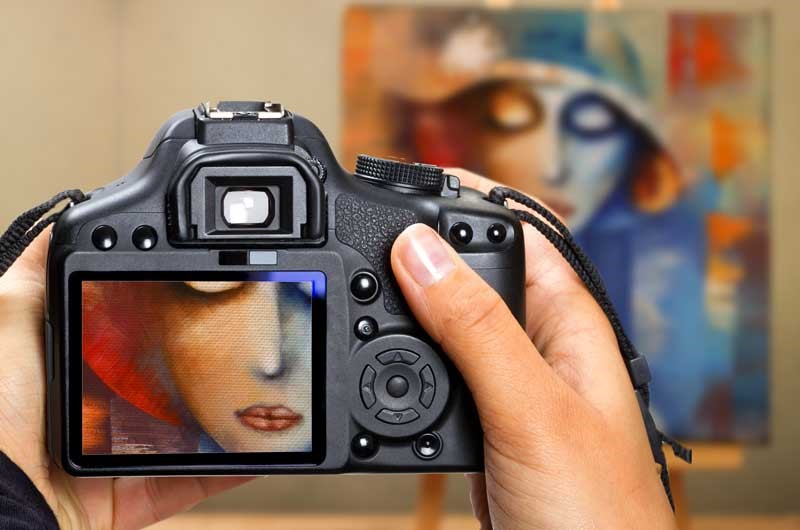
Camera and Lenses
Source – finerworks.com
Choosing the right camera and lens is essential when it comes to photographing 2D artwork. A high-quality camera with a high megapixel count like a DSLR or mirrorless camera is ideal. The higher the megapixel count, the more detail and resolution your photographs will have. Additionally, look for a camera with a larger sensor size as this will allow you to capture lighter and create sharper images. A popular choice of lens for photographing artwork is a 50mm prime lens, which provides a natural perspective and a relatively standard field of view. Lenses with wider focal lengths like 35mm or 24mm can also work well, especially if you want to capture a wider view of the artwork. If you want to go into extreme detail, then a macro lens is your best bet. Also, use a tripod to keep your camera steady and eliminate any blurriness caused by shaky hands. Additionally, a tripod allows you to make precise adjustments to your shot.
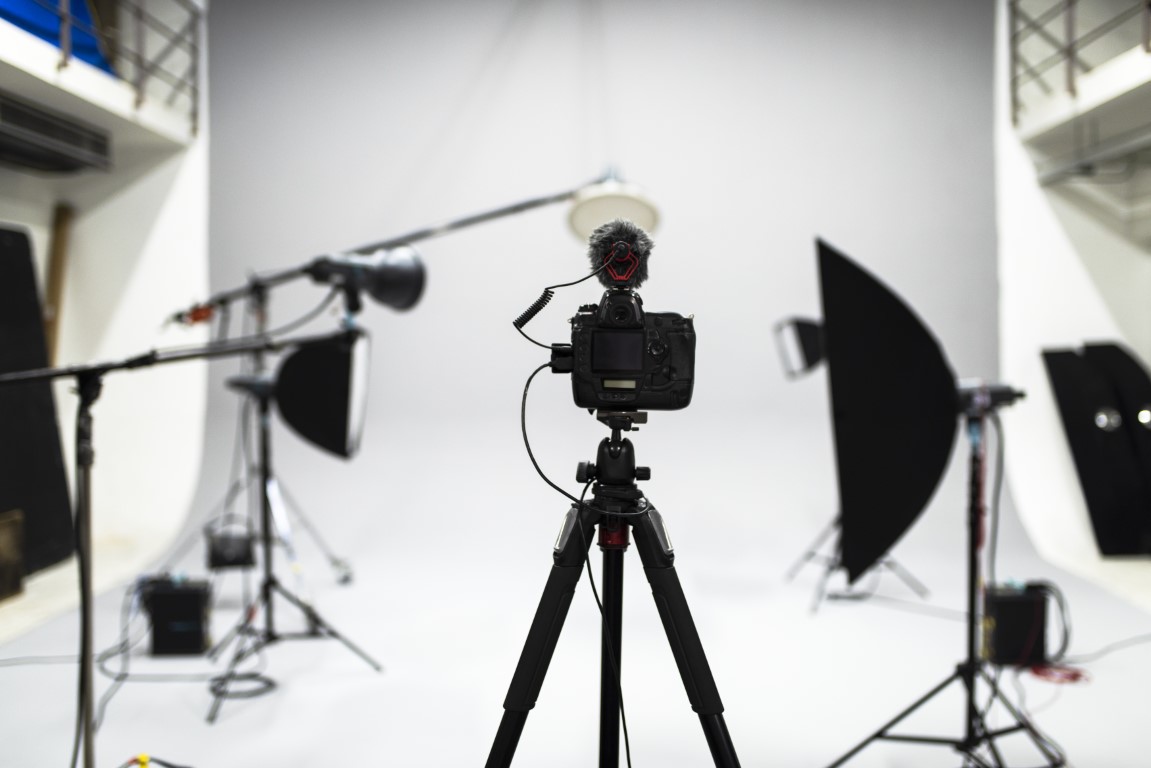
Lighting for Different Scenarios
Set up of a studio shoot
Lighting is one of the most important aspects of photographing artwork, and the type of lighting you use will depend on the scenario. If you’re photographing artwork indoors, consider using artificial lighting sources like soft-boxes or umbrellas. These can help to create even diffused lighting that will showcase the artwork without creating any harsh shadows or reflections. If you’re able to photograph the artwork outside, natural light is often the best option. Try to avoid direct sunlight, as this can create harsh shadows and make it difficult to capture the details of the artwork.
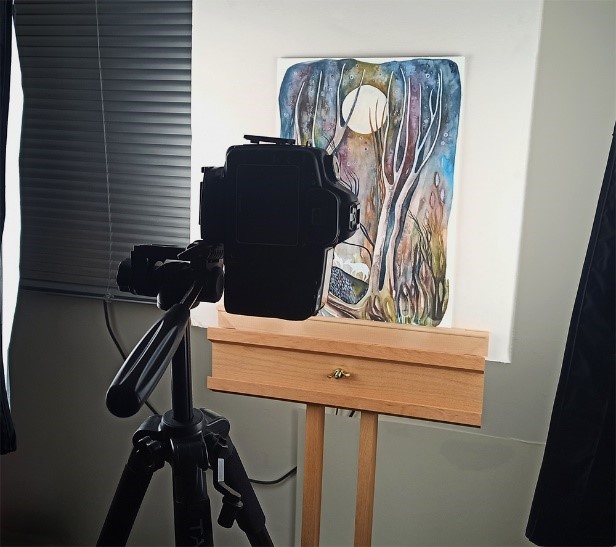
Paying Attention to Composition and Angles
Source – mockingbirdpressuk.com
Position your artwork correctly by placing it at a right angle to your camera. Make sure that your camera is perpendicular to the artwork and that it’s level. You can use a spirit level to ensure that your camera is straight. Consider the placement of the artwork within the frame and try to create a sense of balance and symmetry. Sometimes, a straight-on photograph isn’t the most interesting or dynamic way to capture artwork. Experiment with different angles and perspectives to find a unique and visually compelling way to showcase the artwork.
Color Accuracy
Source-photofocus.com
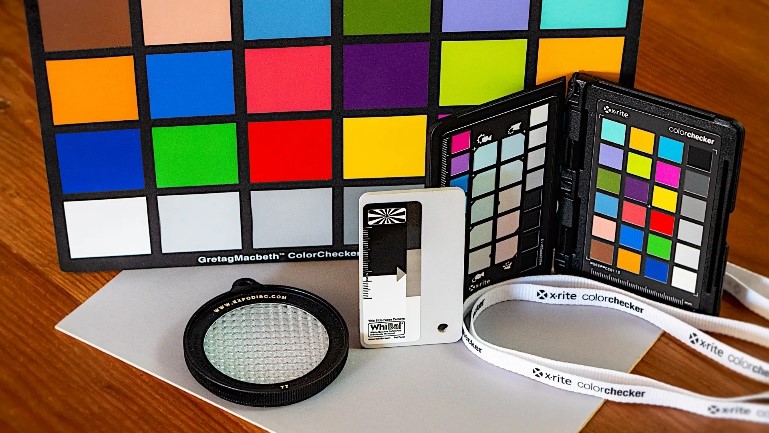
it’s important to ensure that your photographs accurately represent the colours of the artwork. One way to do this is to use a colour checker to ensure that your camera is capturing colours accurately. A colour checker is a tool that typically consists of a small card with a variety of colour patches on it. To use a colour checker, simply place it in the same lighting conditions as your artwork and photograph it using the same camera and lens that you plan to use for photographing your artwork. Then, in post-processing software, you can use the colour patches on the colour checker to adjust the colour balance and ensure that the colours in your photos are accurate. Additionally, you can adjust the white balance in post-production to correct any colour issues that may arise.
Picture Format and Editing
Source – cravepainting.com
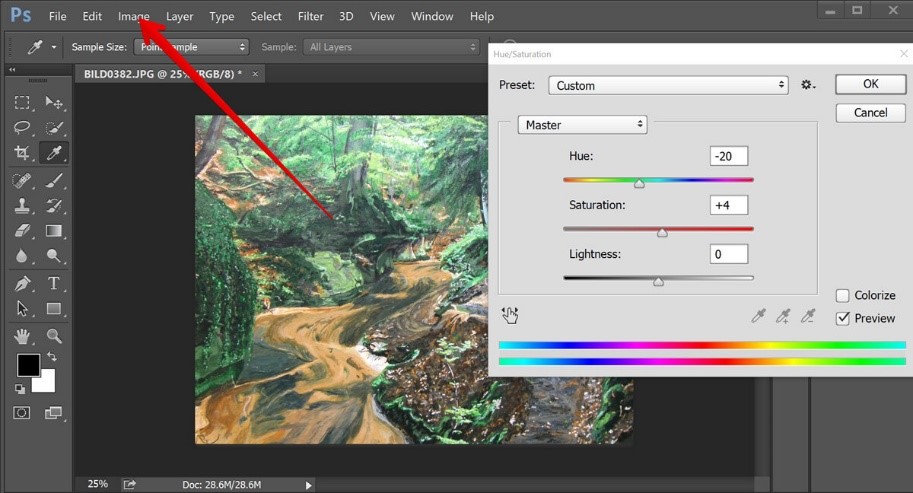
Shooting in RAW format gives you more control over the final image. RAW files contain more data and allow you to adjust the exposure, contrast, and other settings in post-production without compromising the quality of the image.
Lastly, edit your photos to enhance the overall look of the artwork. Use photo editing software like Adobe Photoshop or Lightroom to adjust the settings as per your requirement. Adjusting exposure can help to bring out details in darker areas of the image or tone down areas that are too bright. Increasing contrast can make an image appear more vivid and crisp, while decreasing contrast can give a more muted, softer effect. You can use the colour correction tools to correct any colour casts or shifts that may have occurred during the photography process. There are no hard and fast rules to editing unless it is some commercial work. Play around till you find the look which perfectly conveys what you want to say.
With these tips, you can create stunning photographs of 2D artwork that accurately represent the artist’s creative vision. Remember, practice makes perfect, so don’t hesitate to experiment with different lighting setups, camera settings, and editing techniques until you find the perfect combination that works for you.
Looking to work on Exciting Video Campaigns for Big brands and Startups?
We’ve got the projects, and we’ll handle the admin. So you can focus on being creative – and leave the rest to us.