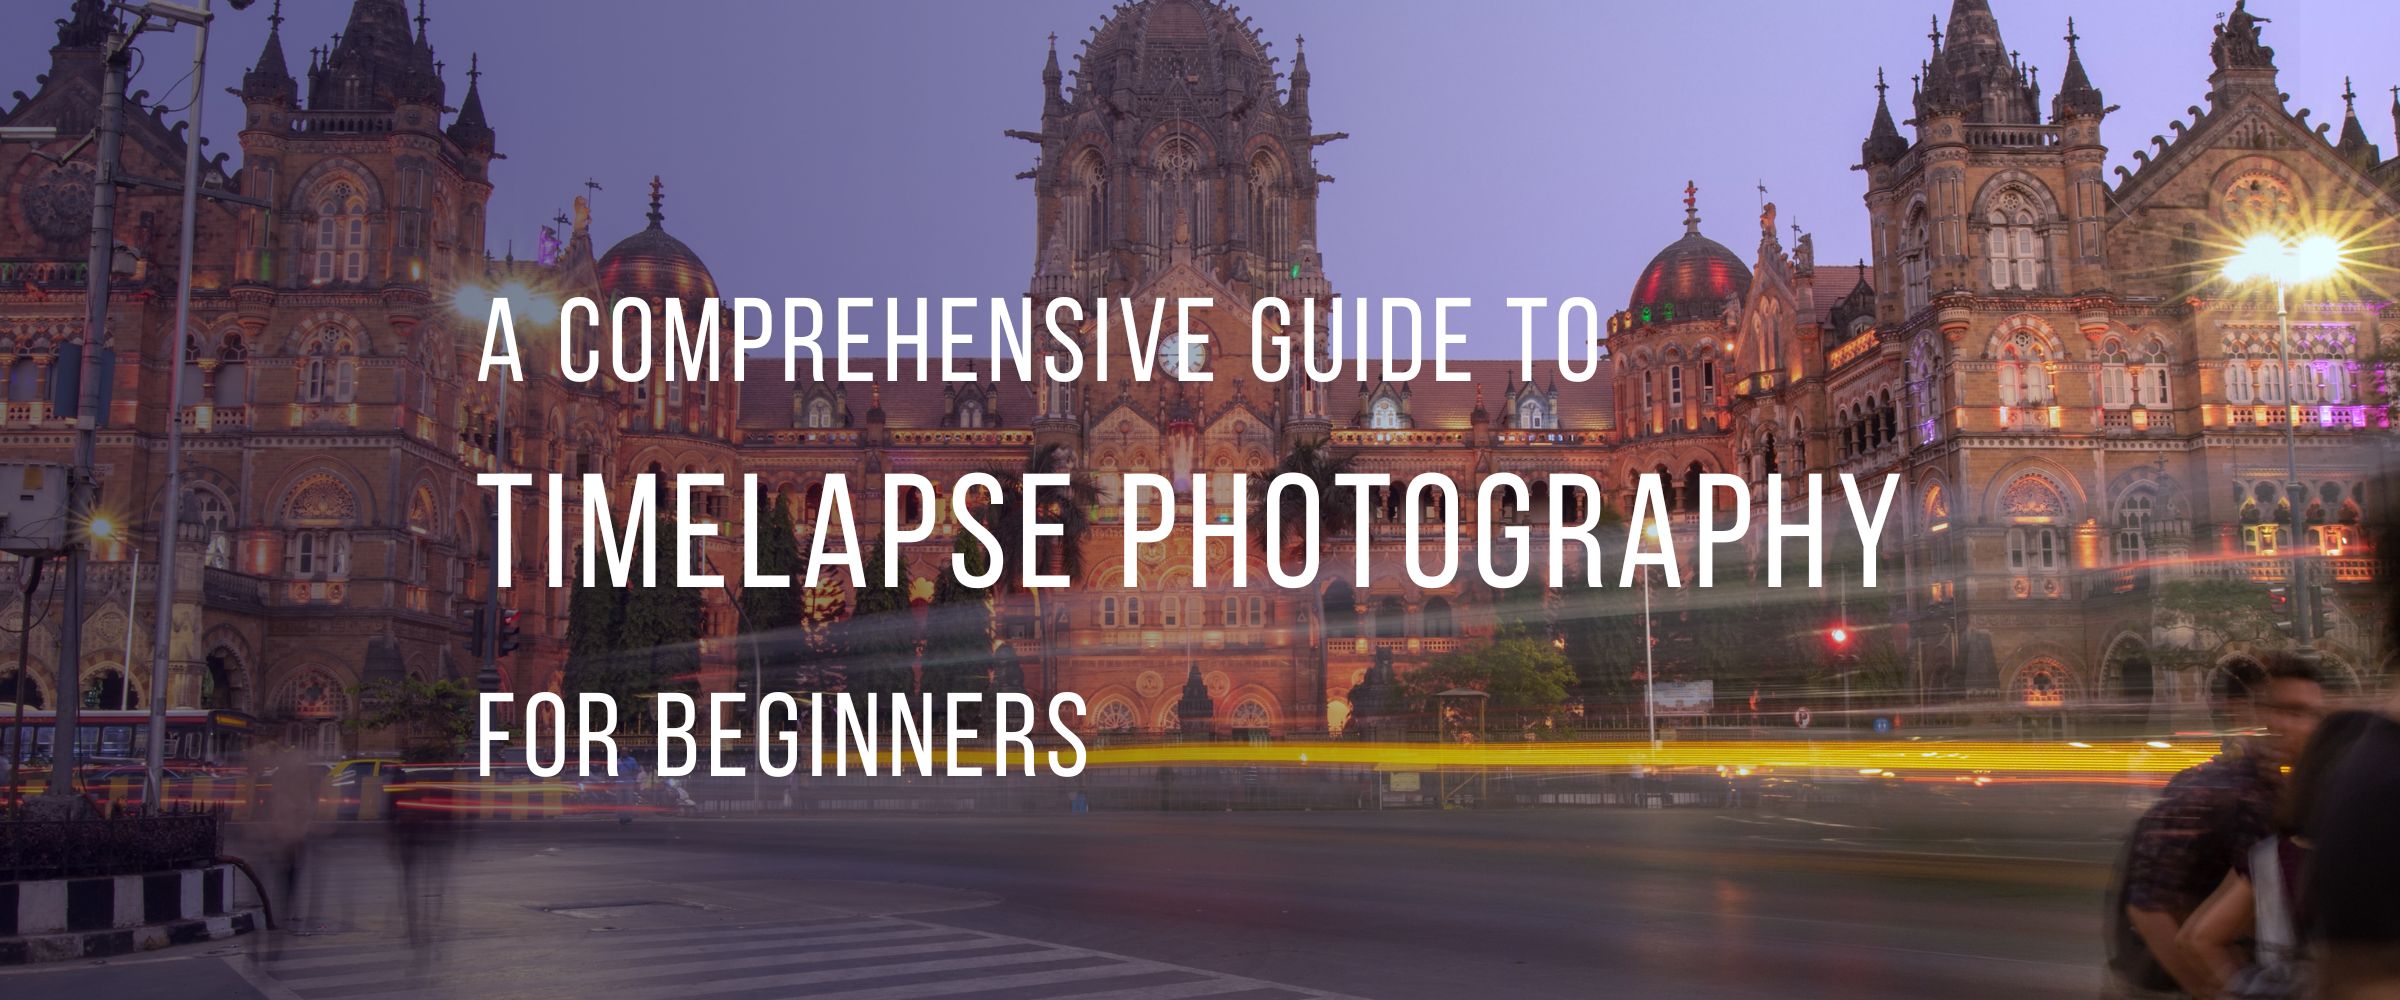
What’s a good way to combine stillness and motion through a short video? How can one show the movement of the Milky Way through the night sky, or the movement of thousands of people and cars on a busy street, all in a few seconds? Timelapse photography is one way to do just that. With some basic equipment and a few tips, you can create stunning images that move and tell a story. Timelapse clips are a very common and effective way to start documentary features.
What is Timelapse Photography?
Timelapse photography is a technique where you capture images at a more delayed rate than normal – think one image every few seconds – to convey the passage of time. The resulting video is then played back at a normal speed, creating the illusion of time moving faster.This technique can be used to capture things like the movement of clouds, the growth of plants, or even the construction of buildings. Timelapse photography is becoming increasingly popular with the advent of high-speed cameras and editing software.To create a timelapse video, you will need to set up your camera in a fixed position and take a series of photos at regular intervals. These photos are then compiled into a video using editing software. The interval between each photo will determine how fast or slow the final video appears.At Indievisual.in (that’s us!), we have a collection of timelapses from different cities of India. For example, a timelapse of the famous Ghanta Ghar of Lucknow , and the Chowmahalla Palace in Hyderabad.One thing to keep in mind when shooting timelapses is that your camera battery will drain much faster than usual. It’s important to have extra batteries on hand, or else you risk your camera shutting down in the middle of shooting.
Tips and Tricks for Shooting Timelapses
If you’re new to timelapse photography, here are some tips and tricks to help you get started:1. Choose your subject carefully. Ideally, you want some elements that are frozen in place, and some that are moving, to anchor the viewer. Think clouds moving rapidly over a static mountain range, or people moving in front of a large building. Unless you’re making a hyperlapse, which we’ll discuss further down.2. Use a tripod. Since time-lapse photography involves taking a lot of photos over a long period of time, it’s important to keep your camera steady so that your photos don’t end up blurry. A tripod will help with this.3. Set your camera to manual mode. This will give you more control over things like shutter speed and aperture, which can be crucial for getting good timelapse photos. Oh, and use manual white-balance – you don’t want the colour tone changing multiple times through the video.4. Shoot in RAW format. This will give you the most flexibility when it comes to editing your photos later on.5. Use an intervalometer. This is a device that helps you trigger the camera shutter at pre-set intervals. Most new cameras come with the intervalometer function built in, but if you’re using an older model, it’s quite likely you’ll need an external one.6. Use Neutral-density (ND) filters. These filters act like sunglasses for cameras. ND filters offer flexibility to change the amount of light entering the lens without changing the color of light. This way, you can take a 2-second exposure even during bright sunlight.7. Plan ahead. Think of how many shots you’ll need to take, and the shutter speed of each shot, so you know how long you’ll need to be there. For example, if you’re planning to make a 24 fps timelapse of 10 seconds, with each shot having a shutter speed of two seconds and a 5-second gap between shots, that means you’ll need to take 240 shots in total, and the total time taken will be 240×7 seconds, or 28 minutes.8. Choose the shutter speed well. A slow shutter speed will capture more light and result in a brighter image, whereas a faster shutter speed will capture less light and result in a darker image, but will of course help you speed up the whole process.9. Put in the Post-Processing Effort. You could batch-edit the photos in your editor of choice, such as Lightroom, and then stitch together the timelapse using a tool such as LRTimelapse. We love this software – it’s greatly simplified the process of editing and exporting the video.If you’re planning to do a daytime timelapse, which doesn’t require too long a shutter speed, check if your camera has S&Q mode. This is an in-built feature in many newer cameras that greatly automates the process of shooting timelapses. Here’s a quick video by Mike Smith, one of our favourite YouTubers, explaining S&Q settings on a Sony camera:By following these tips, you’ll be well on your way to capturing amazing timelapse videos!
Types of Timelapses
There are many different types of timelapse photography, each with its own unique challenges and results. Here are a few of the most popular:
Nightscape Timelapses:
Nightscape time-lapses are some of the most beautiful and challenging to capture. They require long exposure times, often in difficult weather conditions, but the results can be stunning.
Motion Control Timelapses:
Motion-controlled time-lapses add another level of complexity to the already challenging process of capturing a timelapse. By adding moving elements, such as a camera dolly or slider, you can create unique and dynamic results.
Hyperlapses:
Hyperlapse timelapses combine traditional timelapse techniques with hyper-lapse photography. The camera itself is moving with every frame, giving a powerful feel of multiple kinds of motion happening simultaneously – time and distance both. This results in incredibly smooth and fluid motion, often compressed into a very short timeframe. Here’s a hyperlapse of The Charminar in Hyderabad at night.And here’s a fantastic video combining timelapses and hyperlapses on the streets of Bangkok:
HDR Timelapses:
HDR timelapses are becoming increasingly popular. By capturing multiple exposures and then combining them into a single image, you can create stunning high-dynamic-range footage. Here’s a stunning example of an HDR timelapse:
If you’re interested in learning more about photography, be sure to check out other articles on our website. And don’t forget to share your own timelapse videos with us on Indievisual. Indievisual.in is an India-centric stock footage website that accepts videos in different formats like 720p, 1080p, 4k, etc. Also read How to Identify Great Stock Footage from your Library to know more about stock footage.Still have any doubts? We’re at hello@34.100.129.6
Looking to work on Exciting Video Campaigns for Big brands and Startups?
We’ve got the projects, and we’ll handle the admin. So you can focus on being creative – and leave the rest to us.